
Walk through the Accademia Gallery: Maps & layout
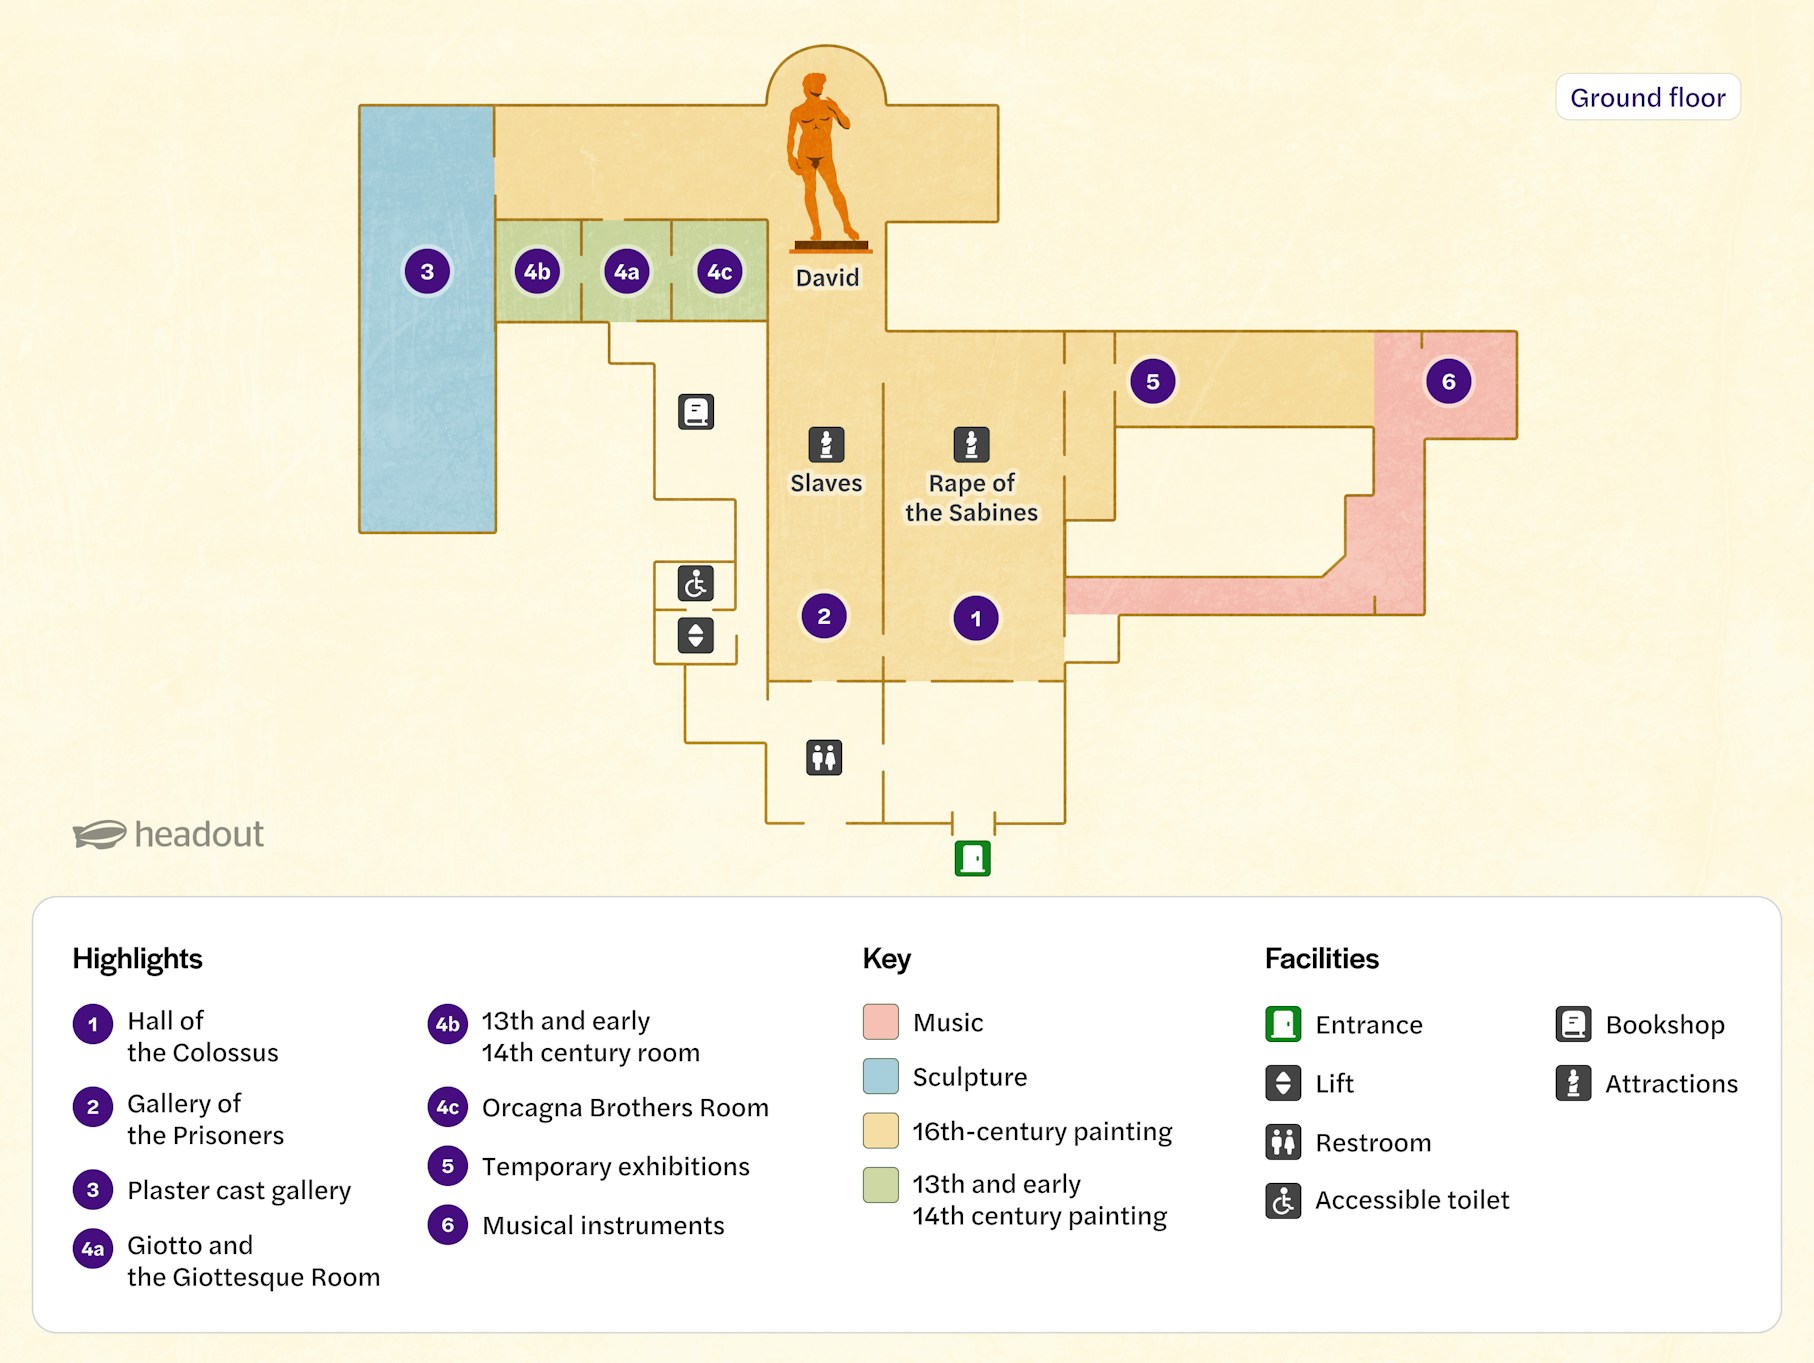
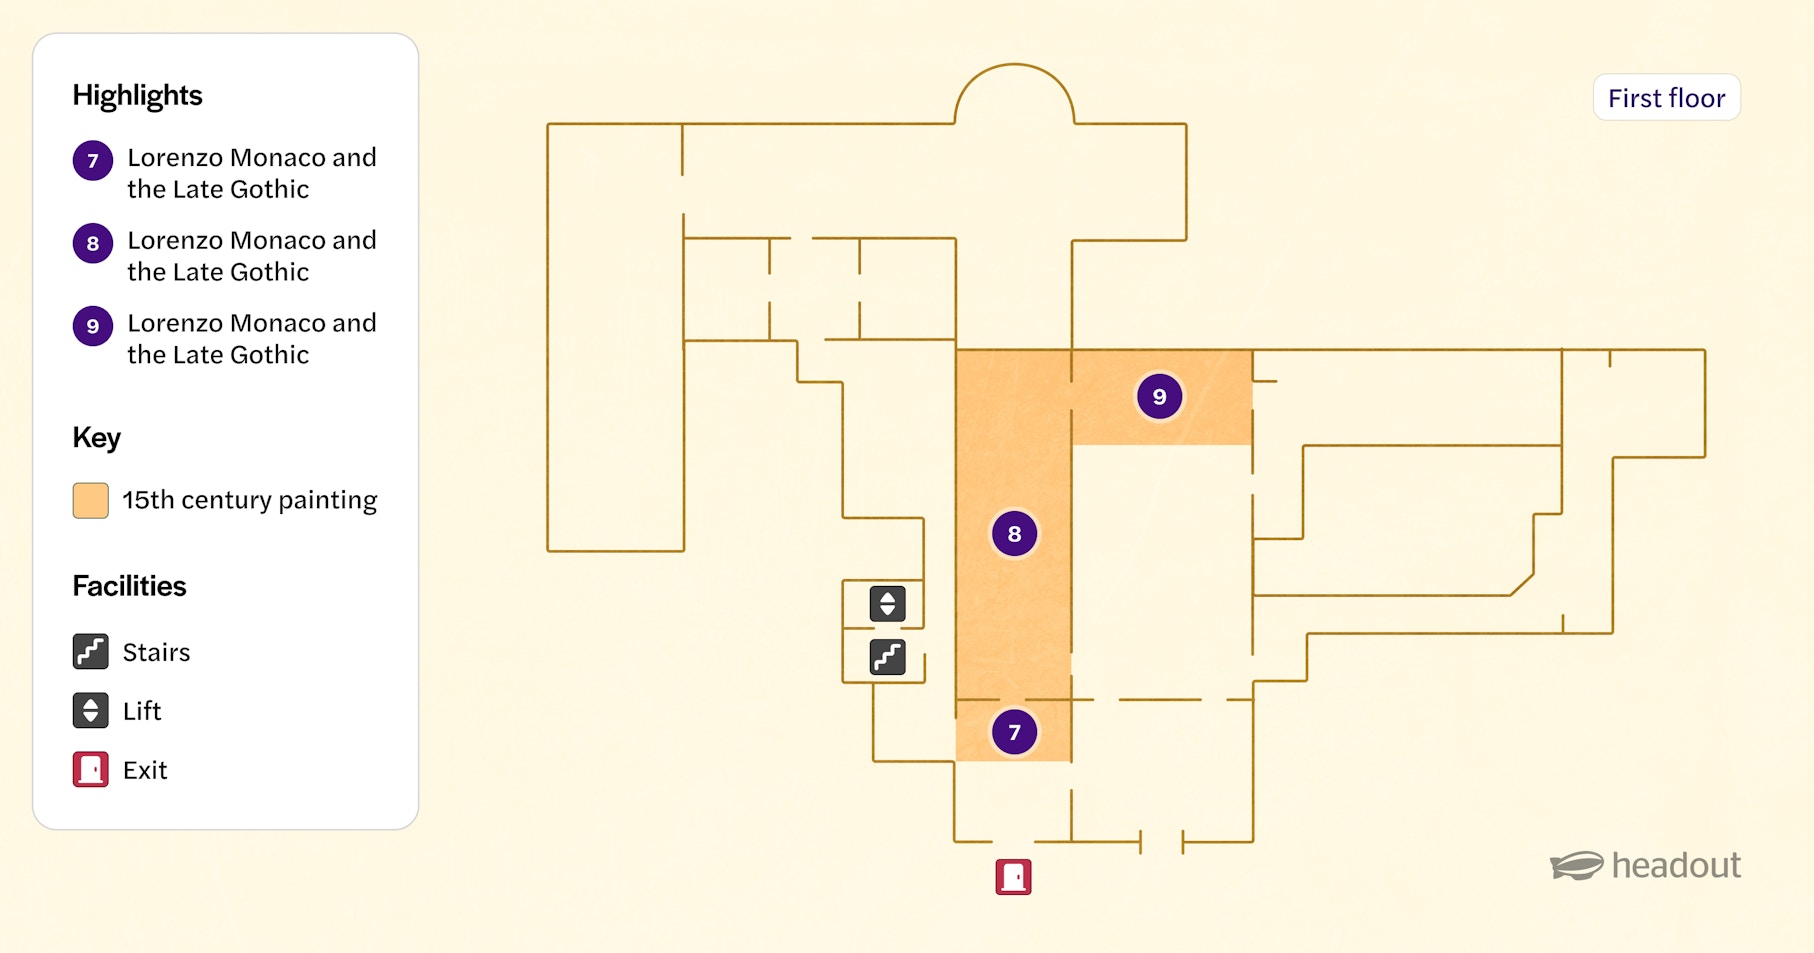
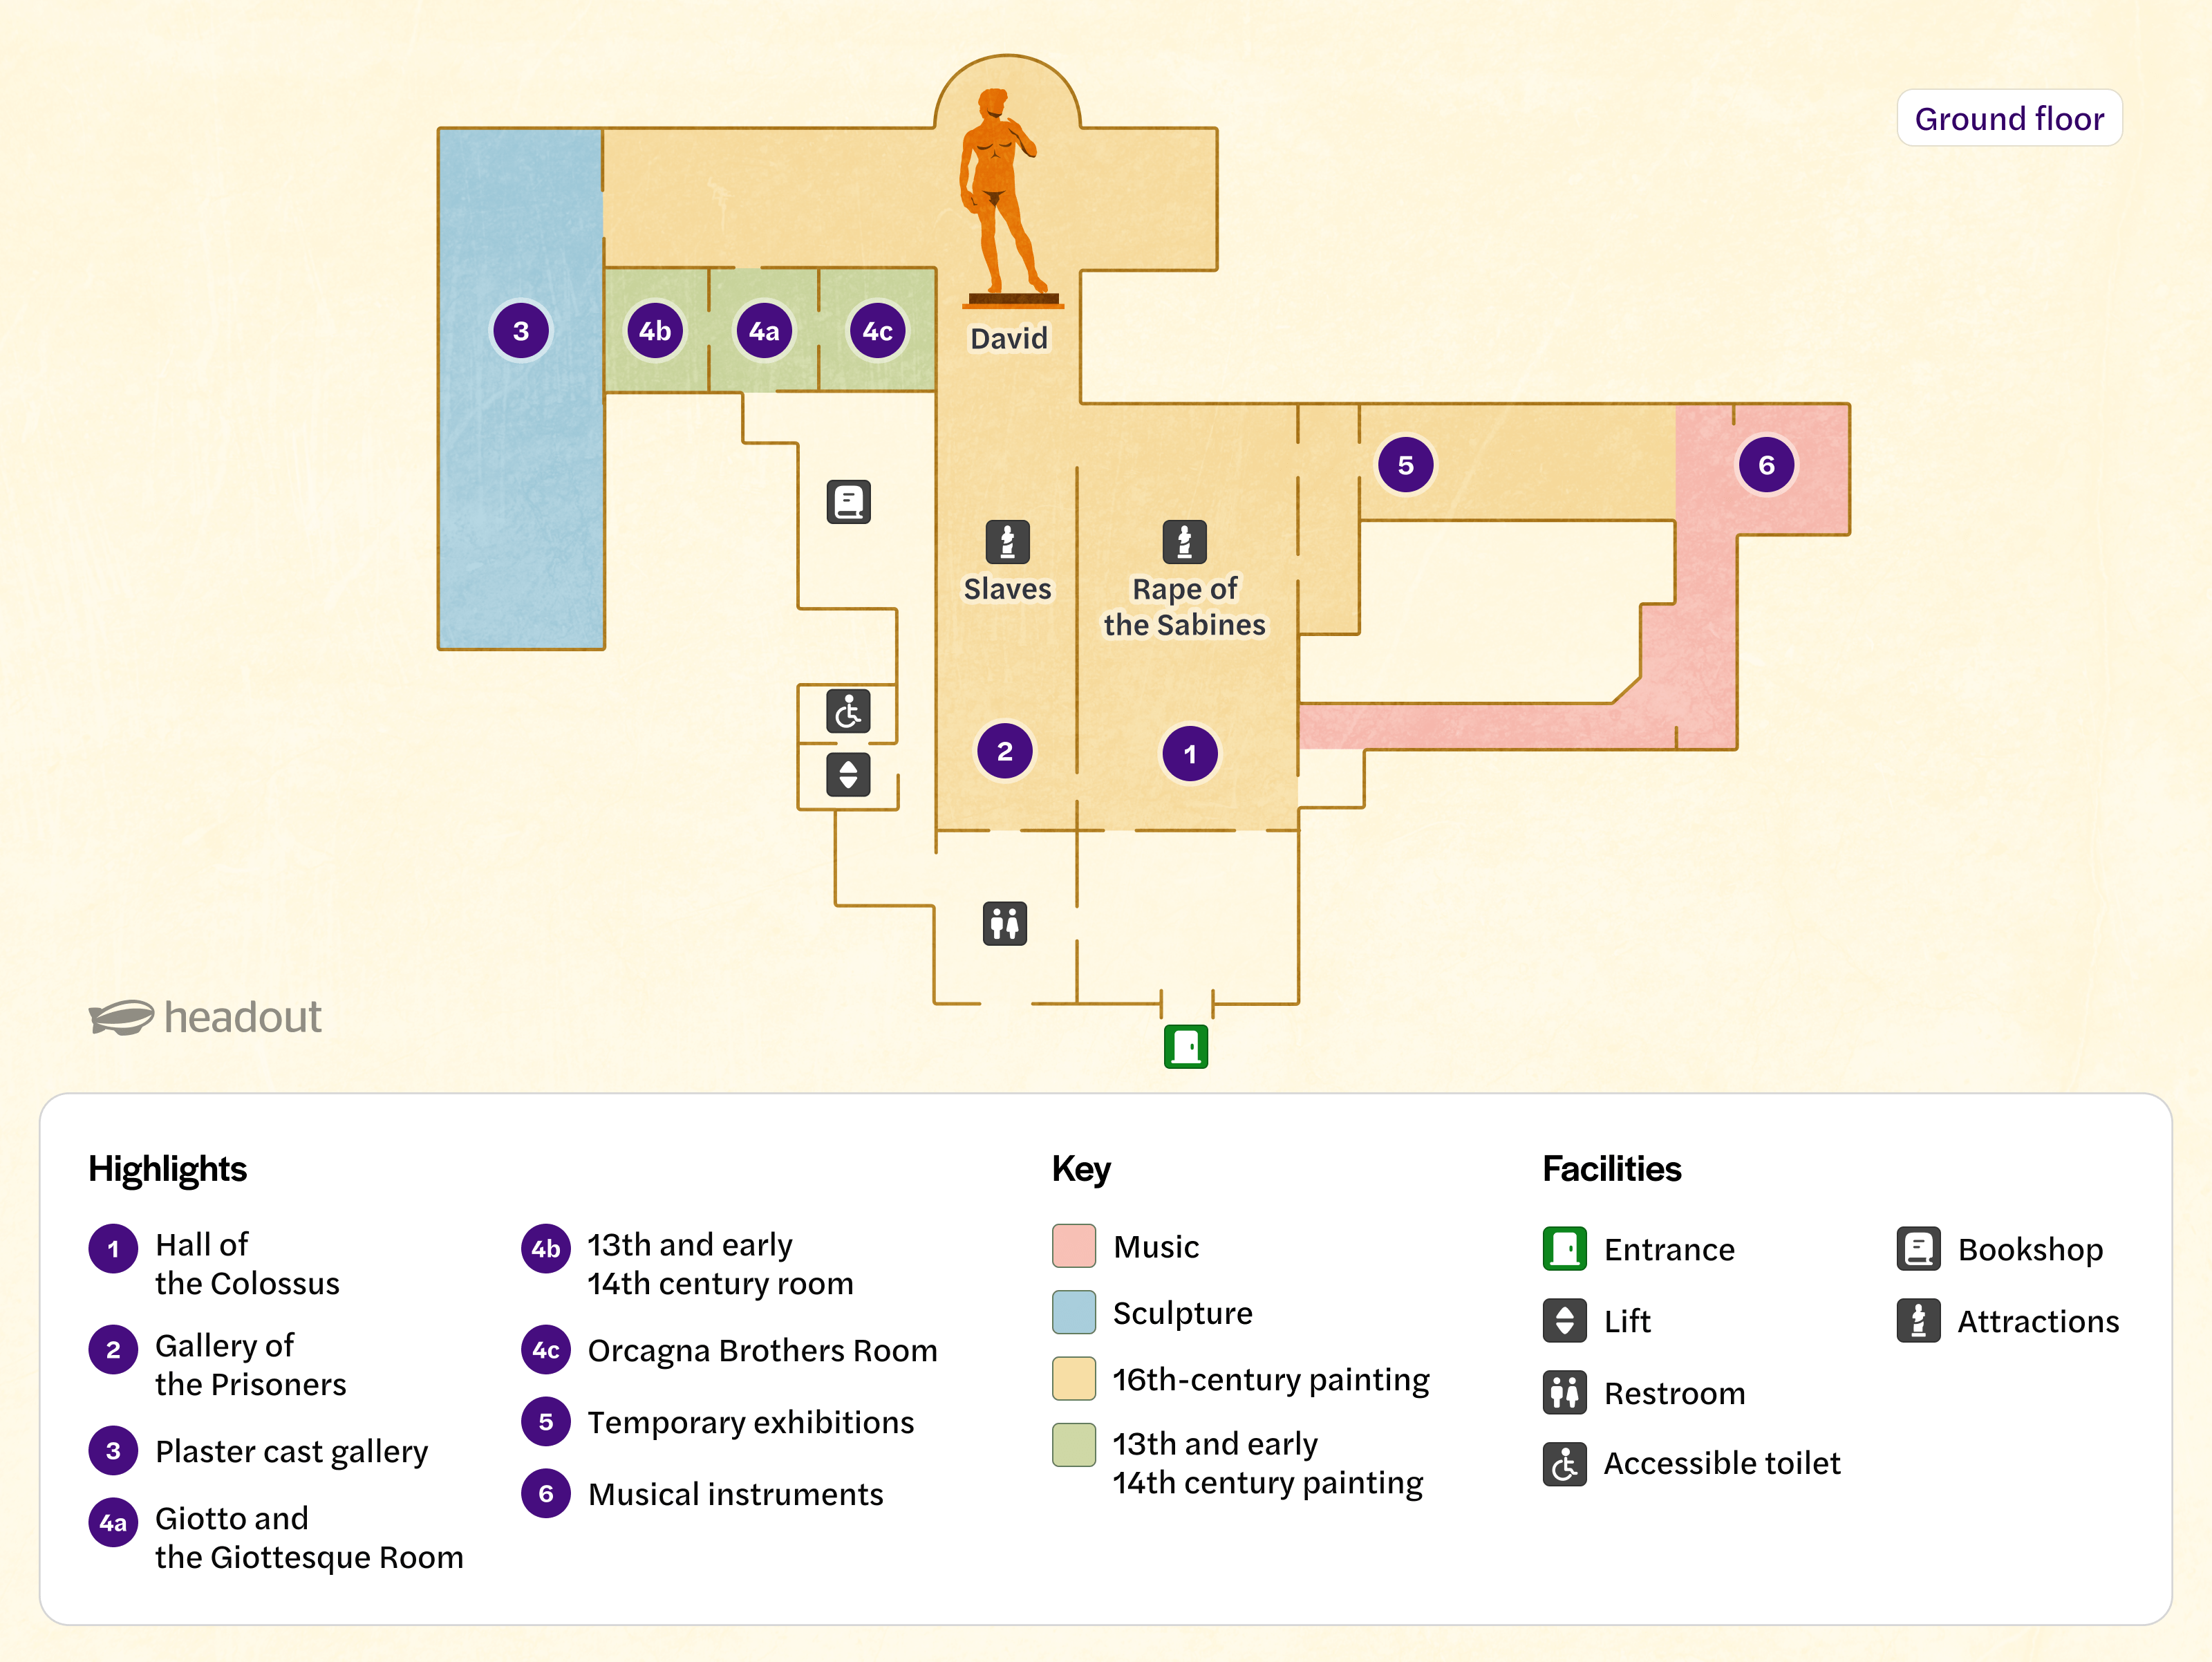
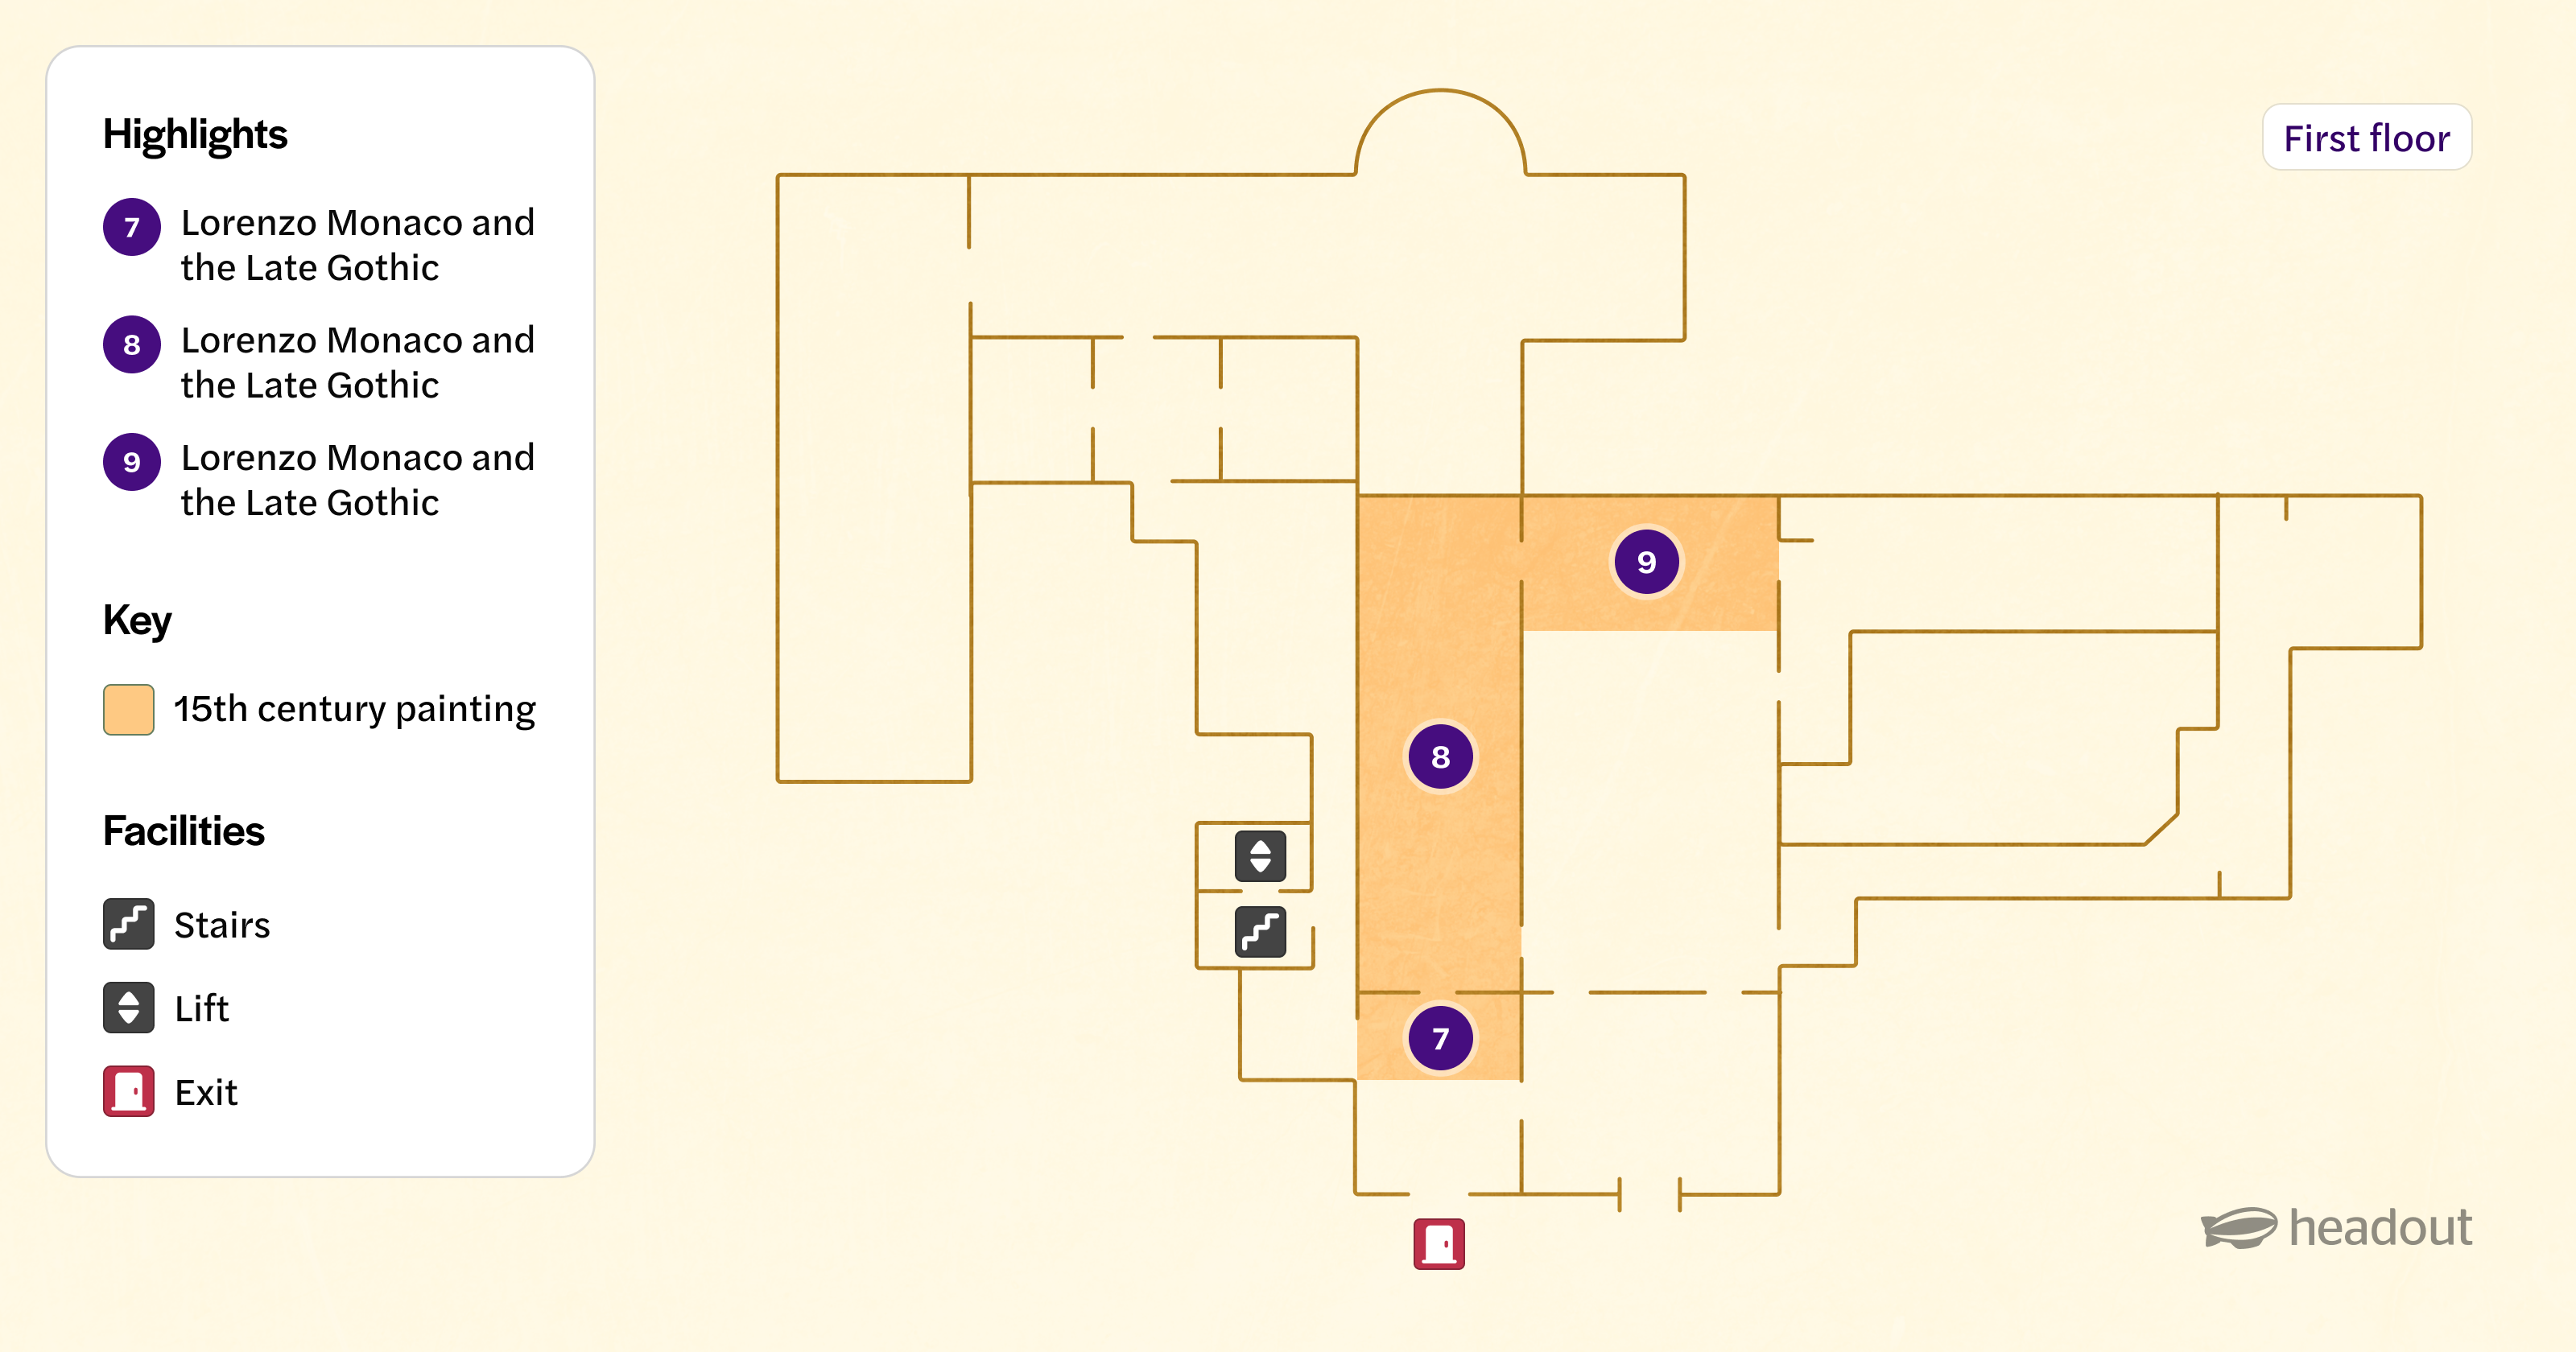
The Accademia Gallery spans two accessible floors focused on sculptures, paintings, and musical history. Use our intuitive floor maps—ground and first—to track your visit from entry through thematic halls, ending with a rewarding exit. This visual guide ensures you never miss major masterpieces or overlooked gems.
Suggested visitor trail
- Entrance → Hall of the Colossus (Ground floor)
Start here: admire Giambologna’s plaster “Rape of the Sabines” and 15th–early 16th-century panel paintings. - Proceed to Hall of the Prisoners
Walk the central corridor lined with Michelangelo’s four Unfinished Prisoners/Slaves, leading straight toward David. - Enter the Tribune (David’s Hall)
Encounter Michelangelo’s iconic “David” under the skylight-designed tribune at gallery’s heart. Spend a few moments circling the statue to absorb every angle. - Detour to Gipsoteca Bartolini (Plaster casts gallery)
Left of David, explore full-scale plaster casts by Bartolini and Pampaloni in the atelier-style hall. - First Floor – First Gothic & Late Gothic Halls
Head upstairs for 14th-century Florentine art—gold-ground masterpieces by Lorenzo Monaco and Don Silvestro—with peaceful lighting and restored ambiance. - Musical Instruments Gallery (Ground floor, near Colossus)
Retrace steps to discover ornate Medici‑era instruments, including Stradivari and Cristofori, in a lesser-known but enchanting space. - Exit via shop & facilities
Finish near the ground-floor bookshop and restrooms before exiting on Via Ricasoli, marking the end of your circular route.